The Sun Salutation is the heart of any yoga practice- in fact, this core set of movements is an entire yoga practice within itself as it contains all the major types of asana – forward bends, backward bends, folds, inversions, mudra (hand positions), breath work… It is simple, and it is the perfect sequence to start off your own at home yoga practice with. Classes are great of course but your yoga journey really begins when you make it part of your daily routine at home. All you need is yourself, a mat, a wee bit of time, and you can feel great!
Everyone has a different way of doing sun salutations, the method I show you in photographs here, in my opinion, is the BEST. I don’t really intend for you to read the blog WHILE doing the poses! That wouldn’t work, it would be pretty awkward too, as it’s all about FLOW. But hopefully you can read it off the mat, and then try out the poses a few times while reading the descriptions and looking at the images and once you are comfortable, just go for it, fly solo! Once you have learned the ideal sun salutation technique you’ll never go back, and then with each day, you’ll continue to perfect it on increasingly subtle levels, it is SO satisfying!
If you do a few repetitions of these every morning you’ll start off the day on the right foot and will establish a calm sense of balance to take into your day. For me, sun salutations are as essential as brushing my teeth every morning. In just a few minutes of doing this simple sequence you will have completed a small -but whole- yoga practice and with a daily routine you will quickly begin to reap the benefits, you’ll start to tone up, will breathe much deeper, and you’ll be much calmer. You can quote me on that!
At first, go slooooooow- really BREATHE and enjoy each movement– the most important part of this is to breathe in step with the movements, it’s ALL about the breath- breathe in and out through the nose, as deeply as you can (if you can feel the breath moving up the back of your neck and into your head, especially in ‘Downwards Facing Dog’ then you’re really on it!) Yep, I’m even gonna say it one more time as I really can’t emphasise this enough, the breath is THE MOST IMPORTANT THING.
Start with 6, doing 3 sets on each side, and work your way up. 6 Sun salutations will take you less than 5 minutes! (I’m sure no matter how busy you are you can take 5 minutes out of your morning routine to centre yourself, right?)
As you become more familiar with the routine you might want to do the sequence at different speeds. Some days I feel that I want to be really slow, breathe really deeply, do it ALL with eyes closed, be very feminine, or ‘yin‘- other days I want to launch myself onto the mat and do them really fast- I might be a bit frustrated, or I might just be feeling really energetic- this is more masculine energy, or ‘yang‘. Go with your own energies, if it feels too slow, speed it up, if it feels rushed, slow it right down. It will fluctuate.
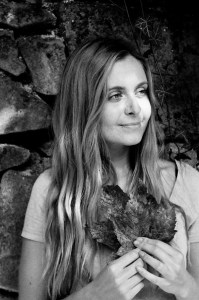
Preferably face the sun! I know we’re not all as lucky as me to have our own personal outdoor yoga deck in the countryside… If you can, face a window, or at least orientate yourself in the right direction – the sun rises in the East. It honestly makes a difference, I feel out of sorts if I am saluting the sun facing the wrong way… Oh yeah, and wear something you can stretch in -bright green leotard (or ‘yogatard’ as I like to call it)- optional, FUN, but not compulsory ; )
Begin by standing up straight at the top of your mat, feet together, hands by your sides. Breathe in and out a few times, deepen your breath until you are breathing from the belly. Find your centre. Feel the firm, stable contact of your feet on the floor, relax into it.
Ok, here we go!
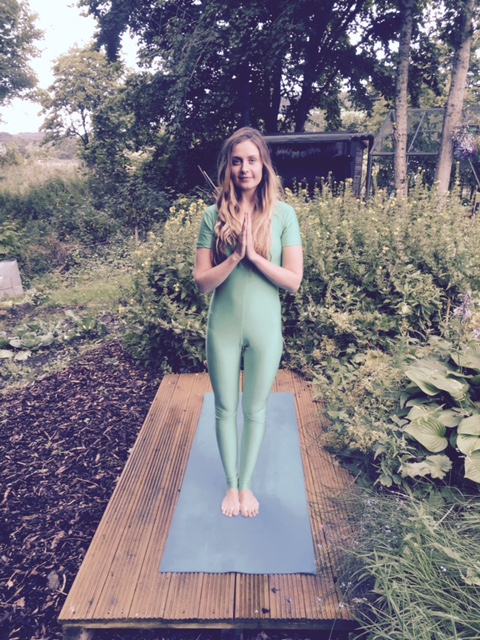
BREATHE IN: Bring your hands up into ‘Prayer Position‘, in front of your heart. Establish a sense of balance as the hands push against one another (this balances the ‘yin’ and ‘yang’ energies).
BREATHE OUT: Keeping the hands in prayer position lower them to in front of your navel. Use this as a propelling motion to then…
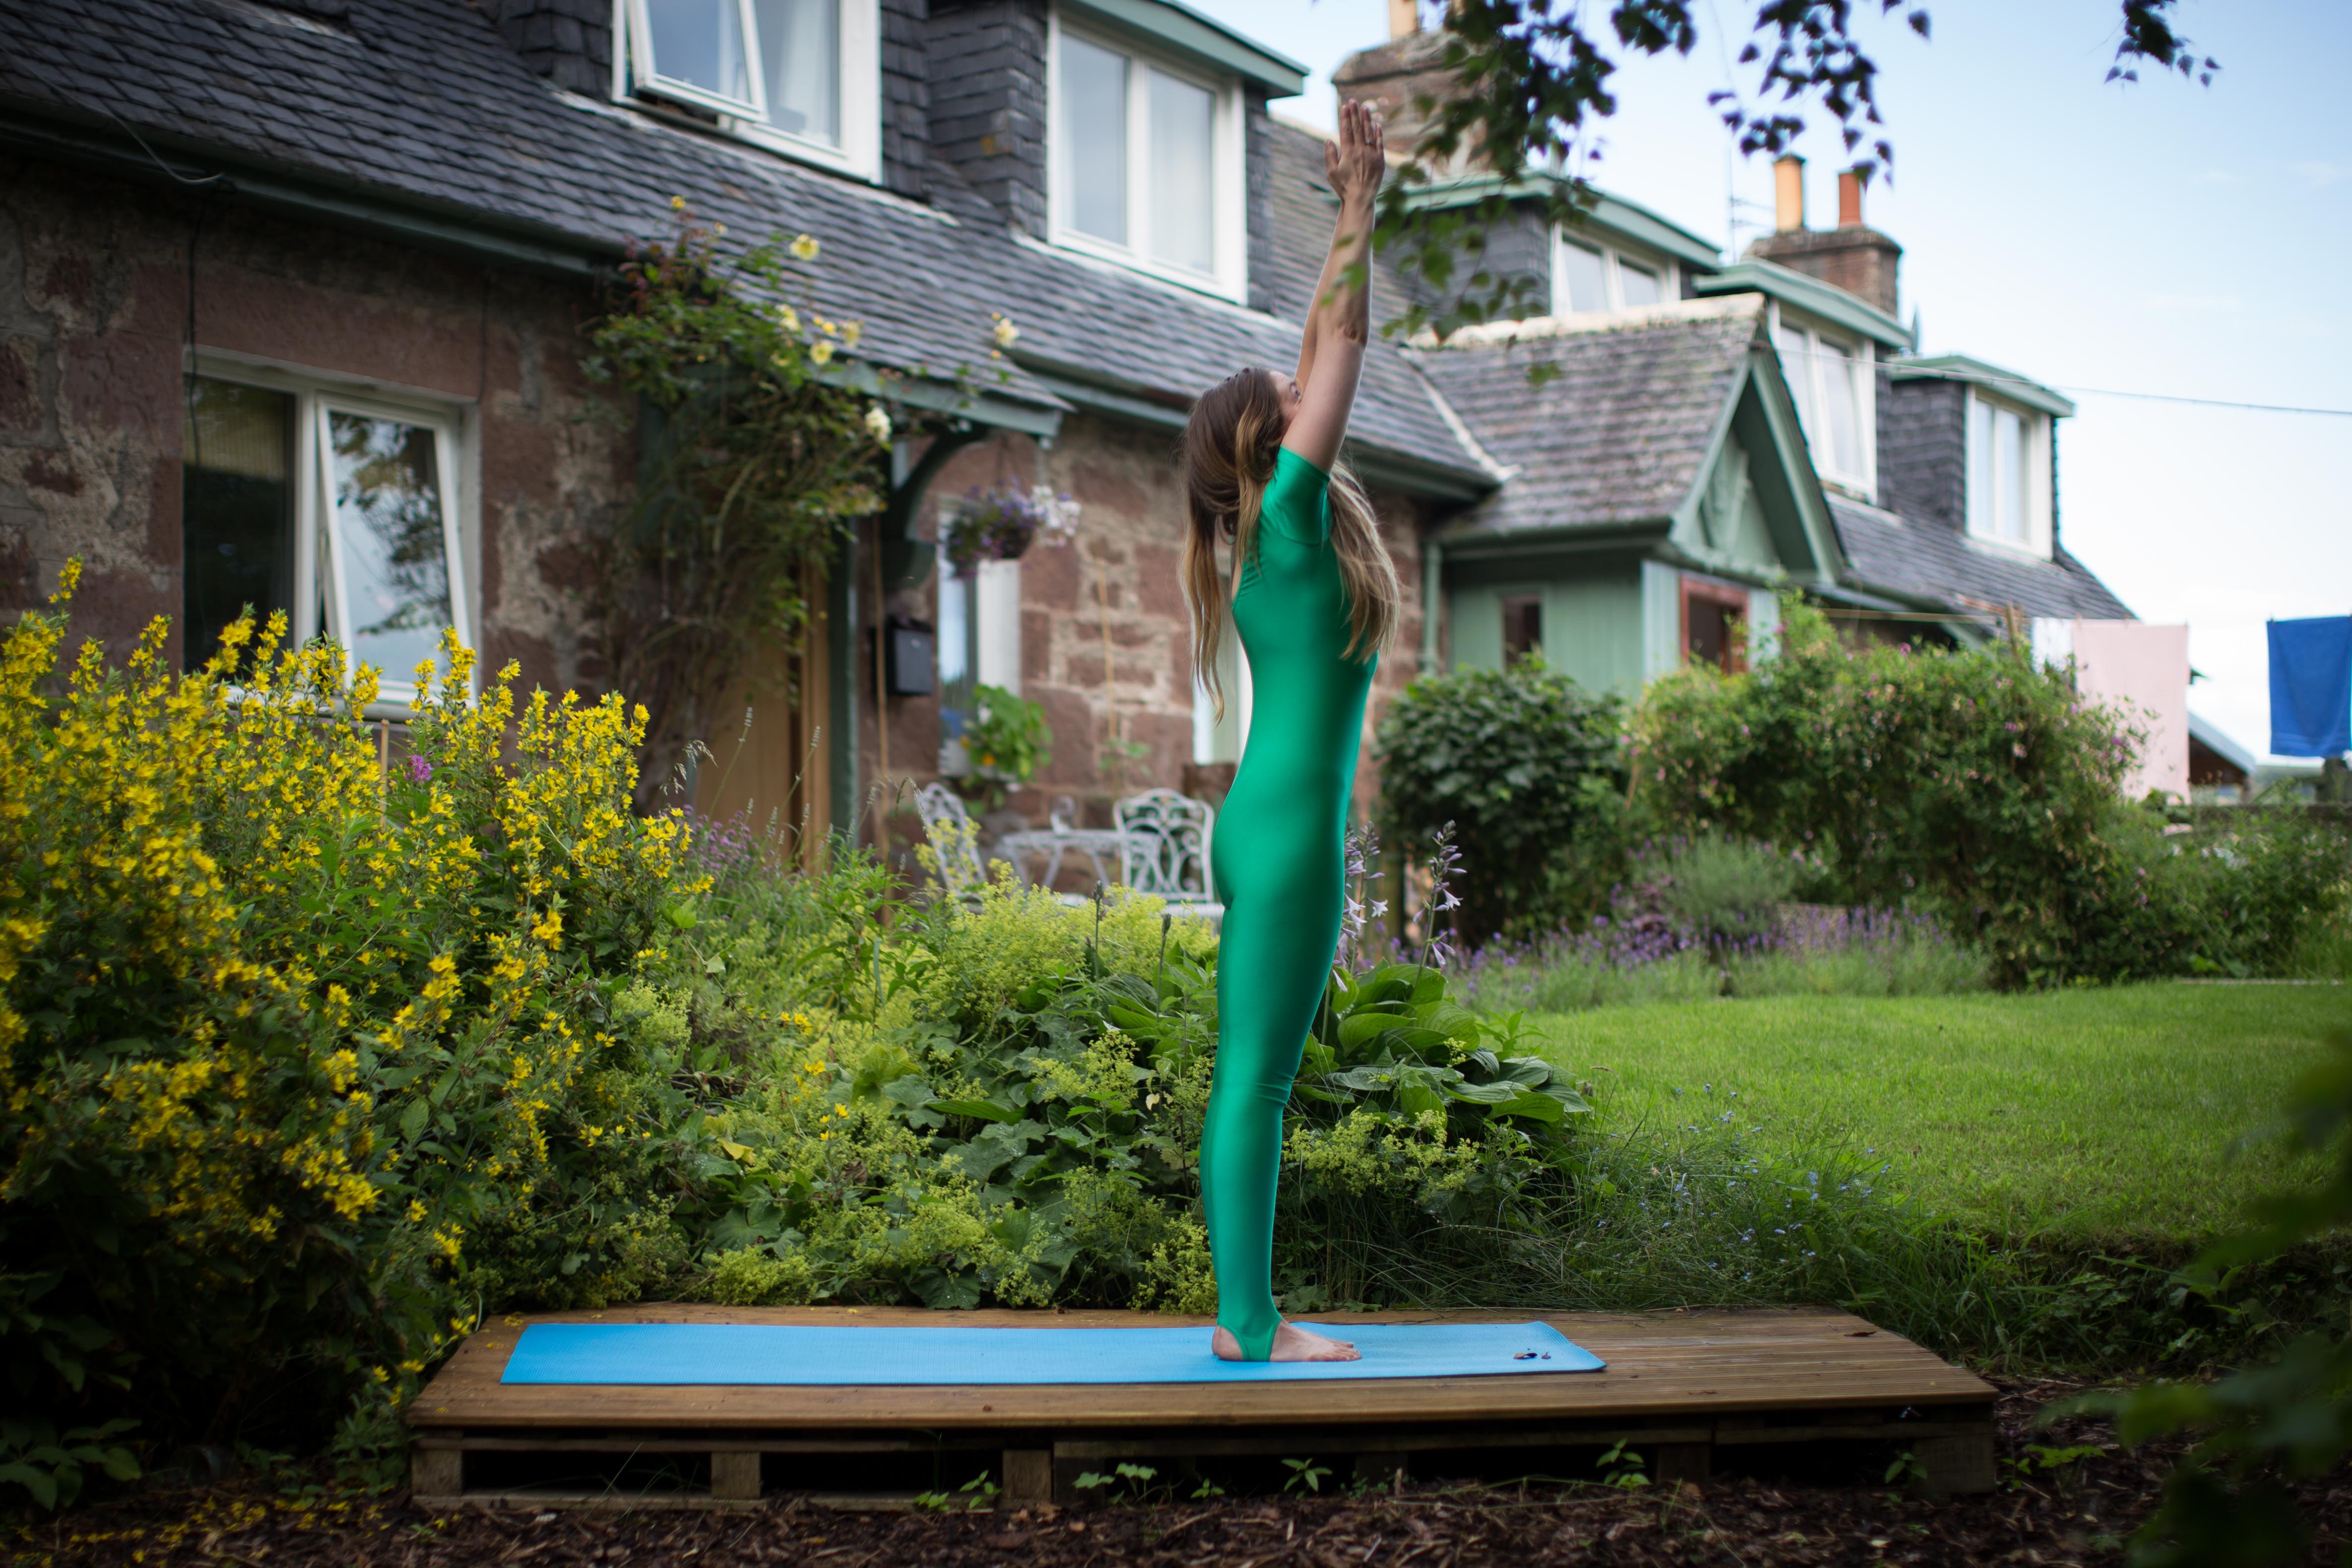
BREATHE IN: REACH UP with the hands until you are stretching as far above your head as you can, hands still in prayer pose. Reach up, up, UP!
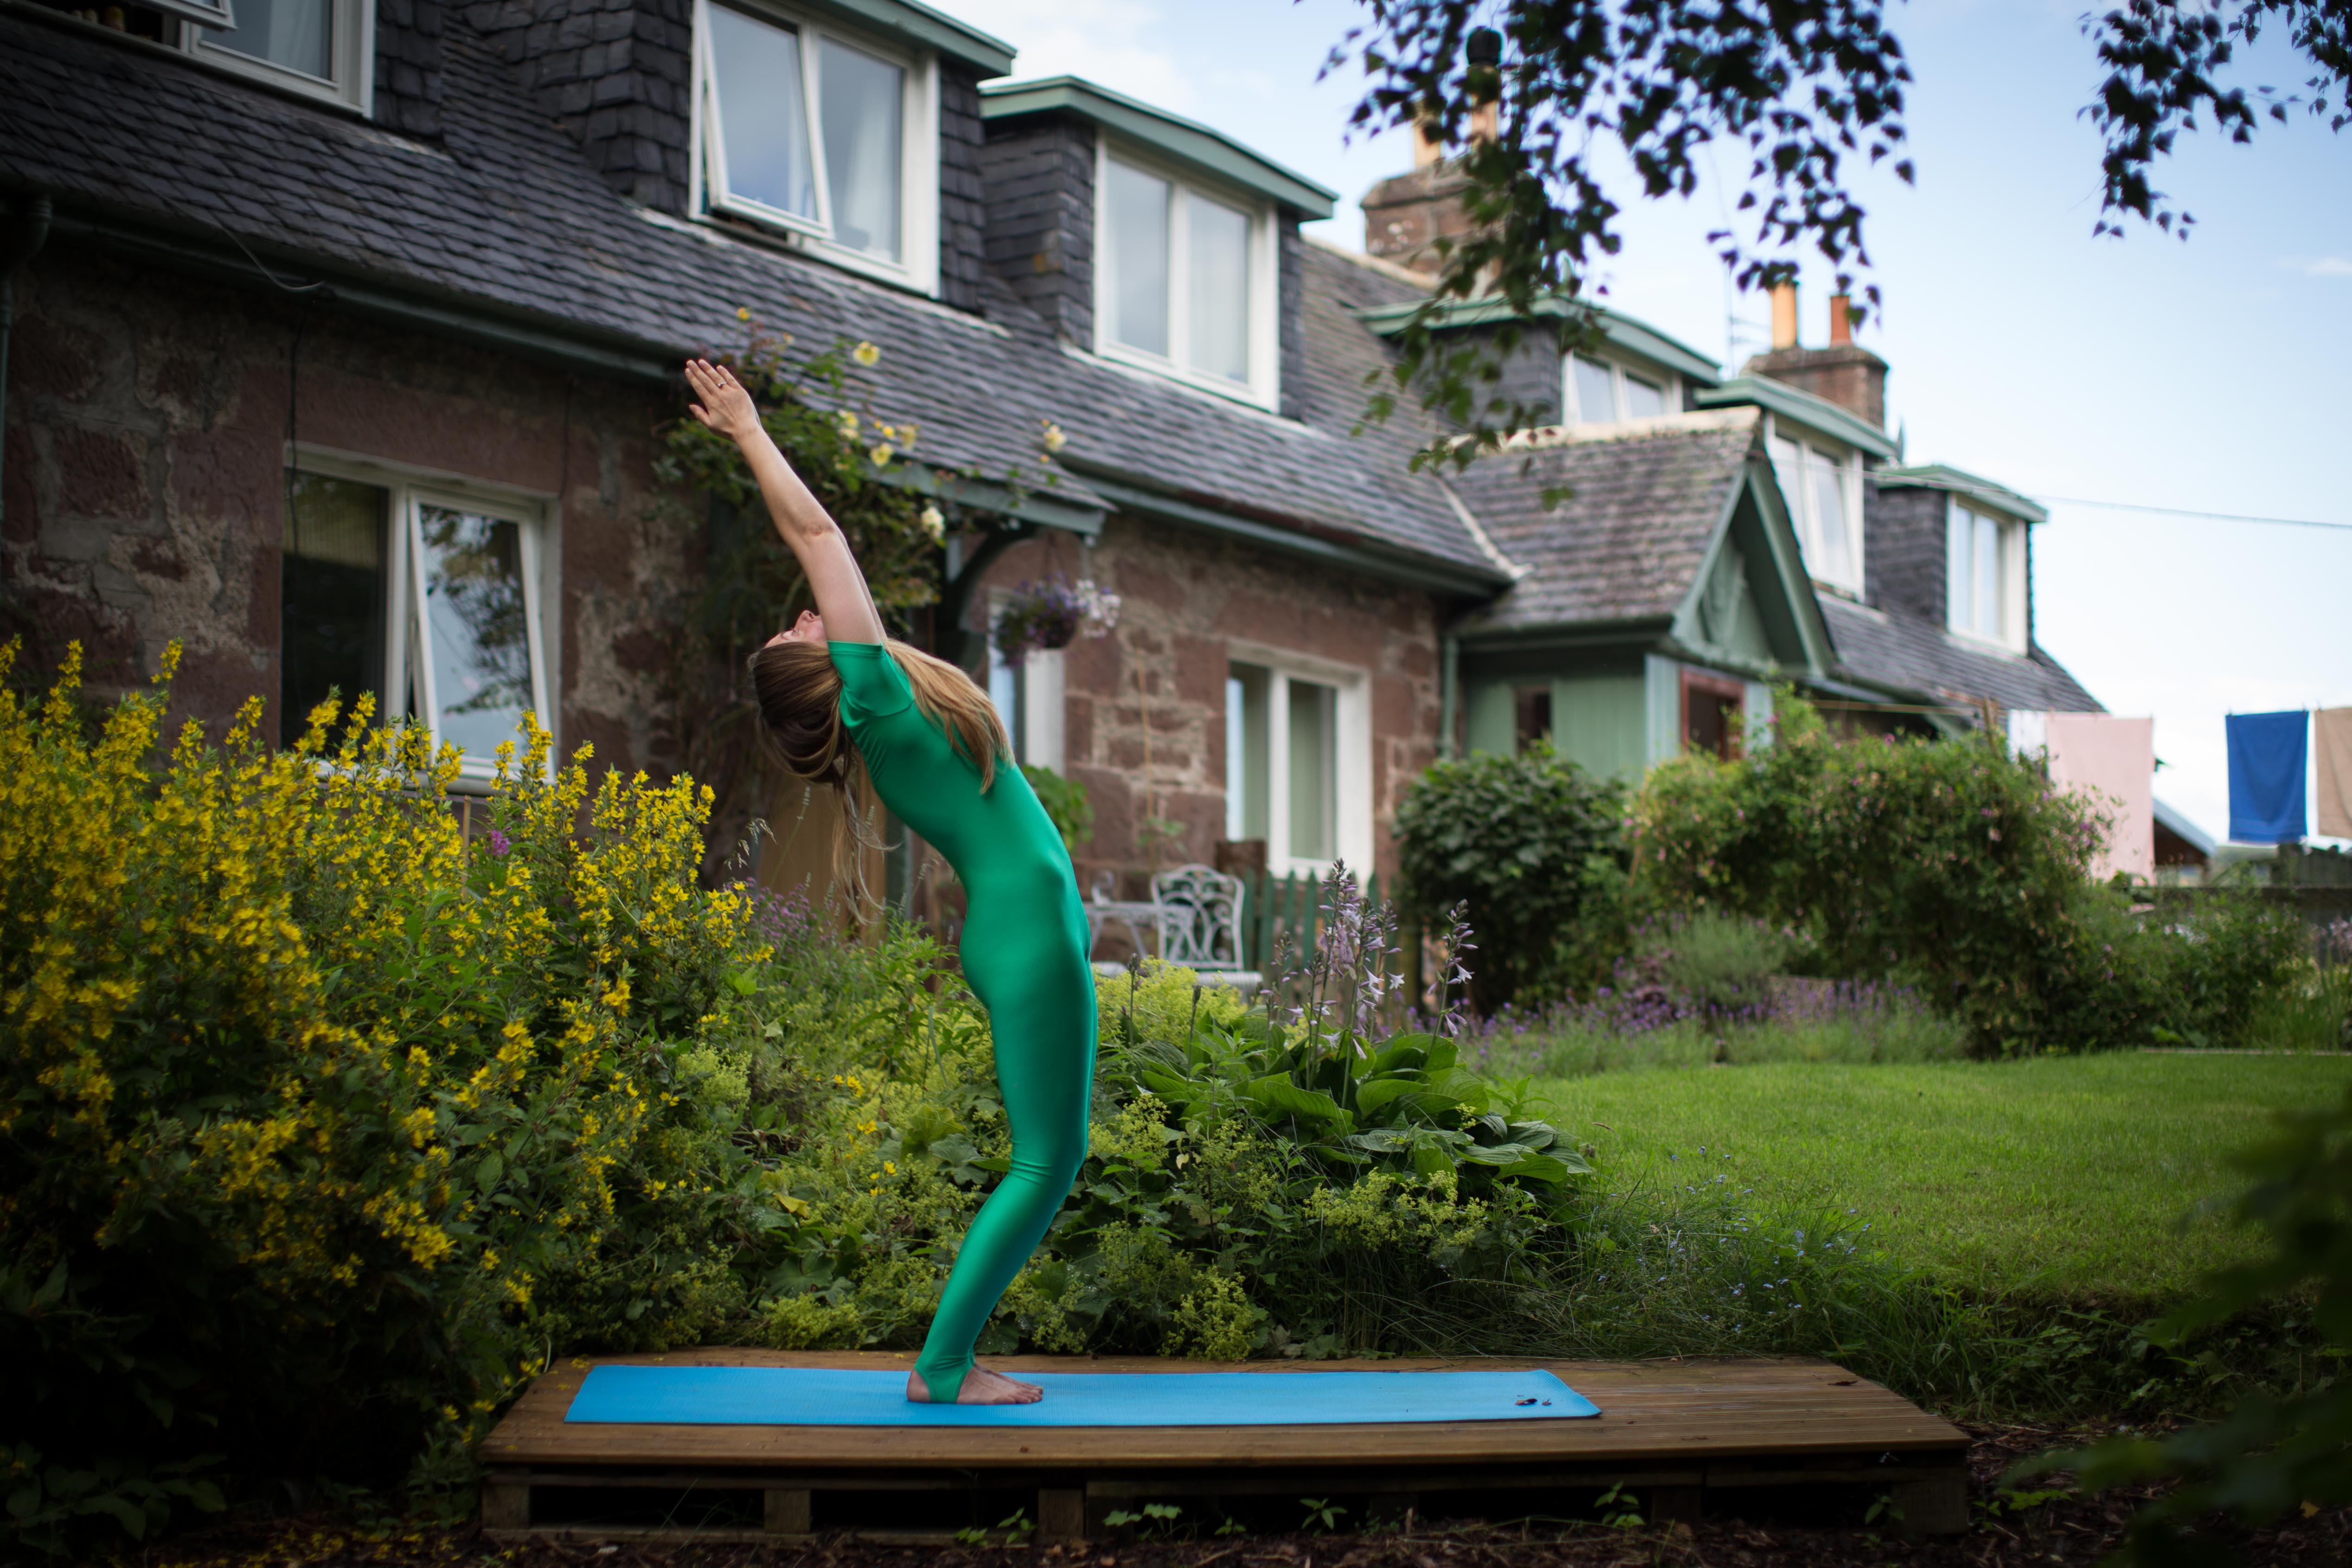
Still on this in breath. Bend your knees slightly and as you reach up, tilt your pelvis forwards as far as you can and arch softly back so you are doing a very small bend in your lower back, bring the arms back with it, and even look up/behind you as long as you feel it is no strain. Really listen to your body here, only go as far as you are comfortable, this will develop naturally as you become more familiar with the practice and you will, over time, bend further.

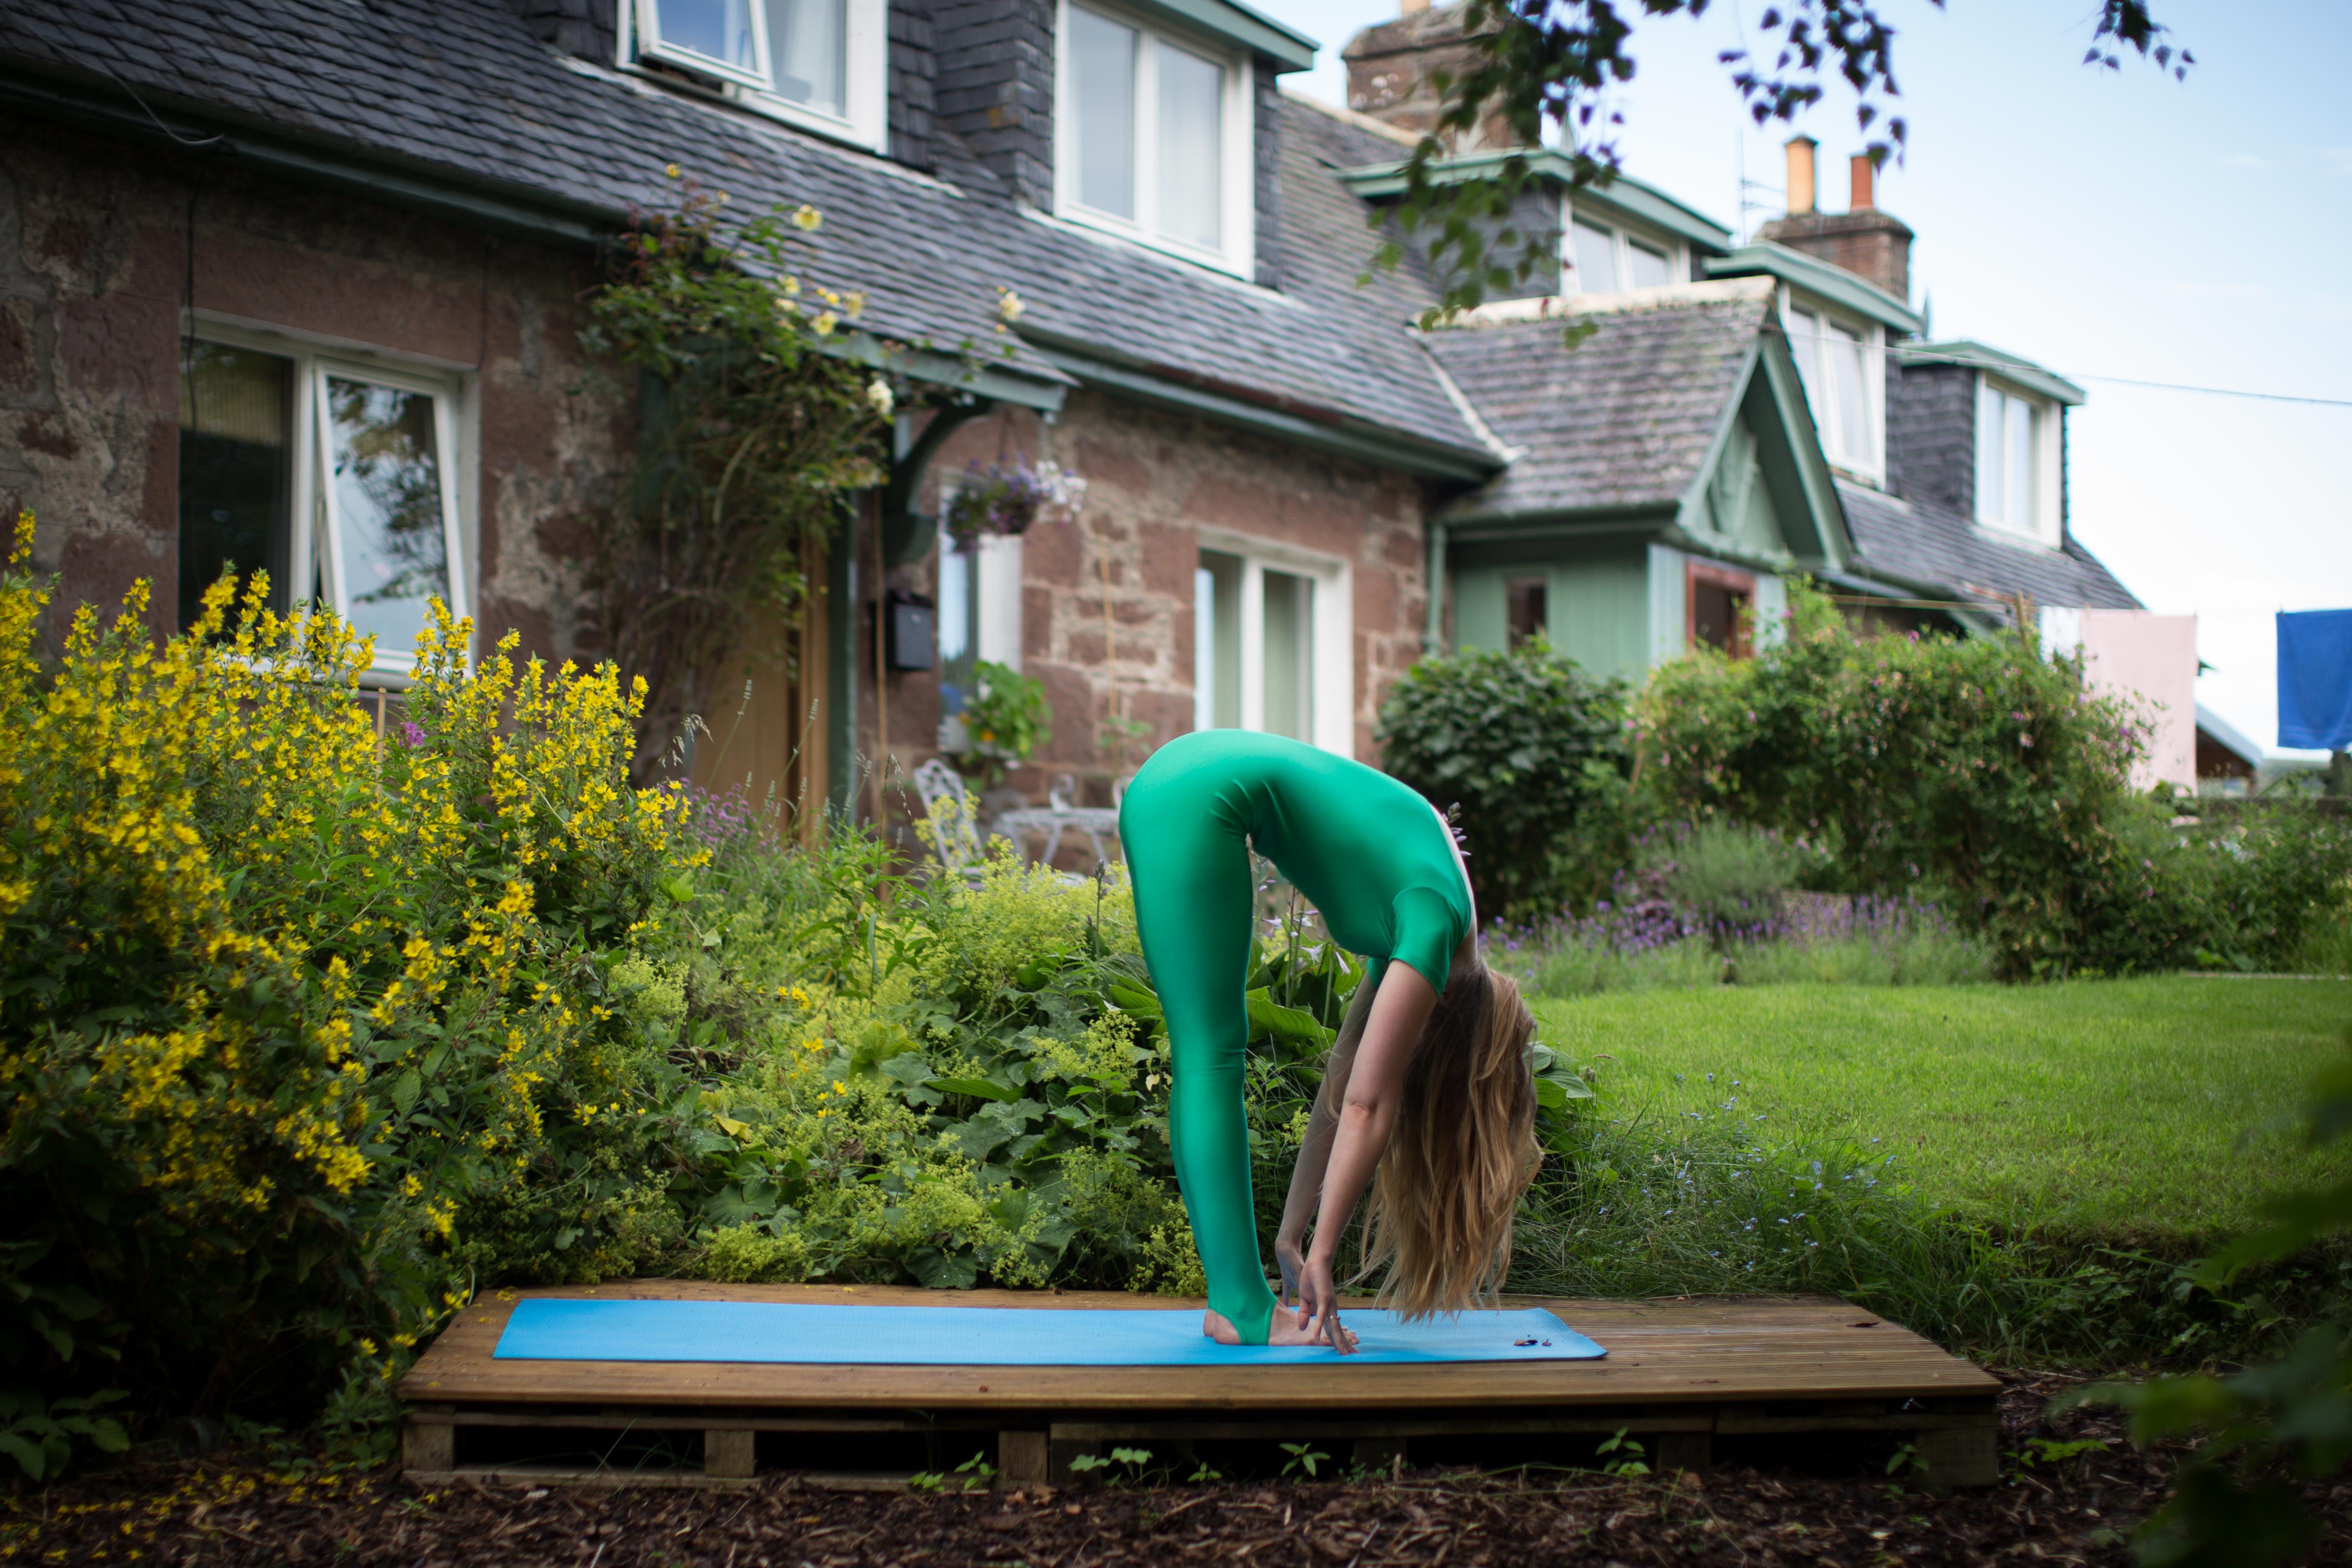
BREATHE OUT: stretch back up straight then bring the hands back towards the front and, knees still slightly bent, FOLD forward, from the hips, part the hands wide, let them glide down, palms facing down, to beside the feet, and place them on the floor, either side of the feet. Drop the head fully forward. Relax into this forward bend. Straighten your legs to intensify the stretch or keep your knees bent slightly if you have to to get your hands on the floor here. Again, this will come over time, your hamstrings WILL loosen with yoga!
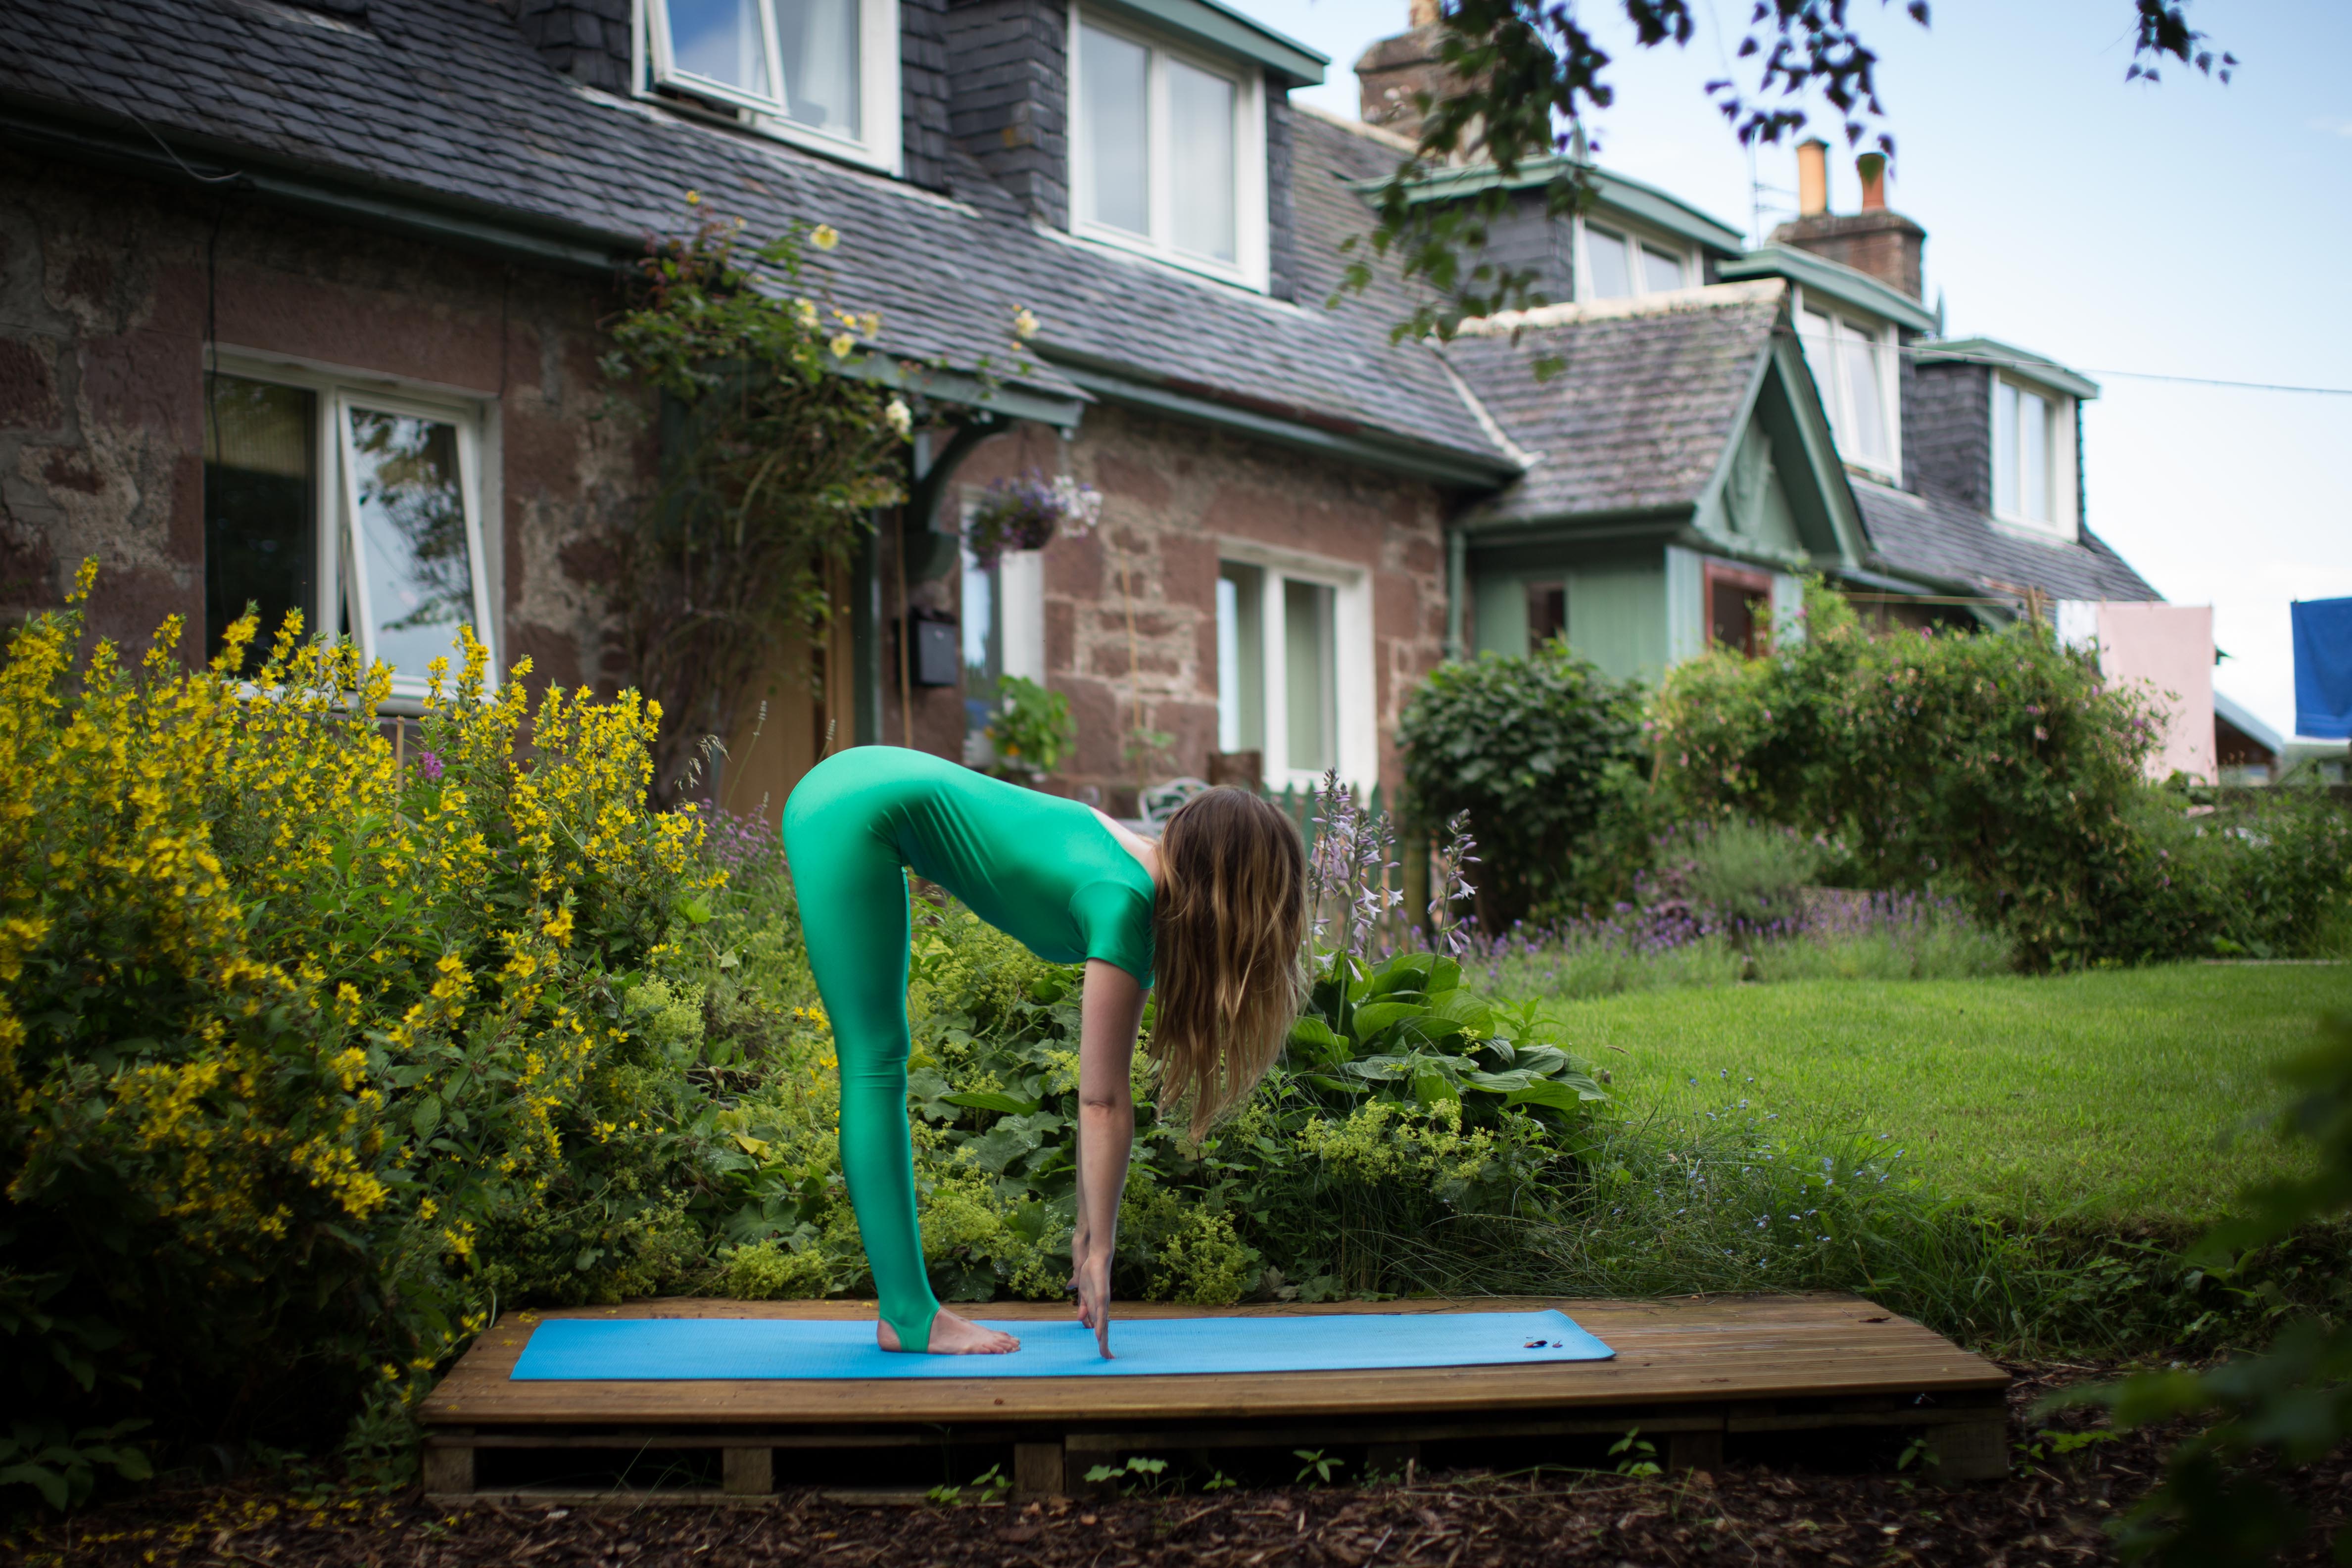
BREATHE IN: LOOK UP and out straight in front of you, straighten the legs here and with your hands come onto the very tips of the fingers on the mat, allow the ‘lifting’ of your head and your hands to adjust your torso into a ‘lifted’ position too, suck that belly in!
BREATHE OUT. Fold forward again, head to straightened legs, plant the hands firmly on the floor either side of the feet and
BREATHE IN and STEP the RIGHT FOOT back.
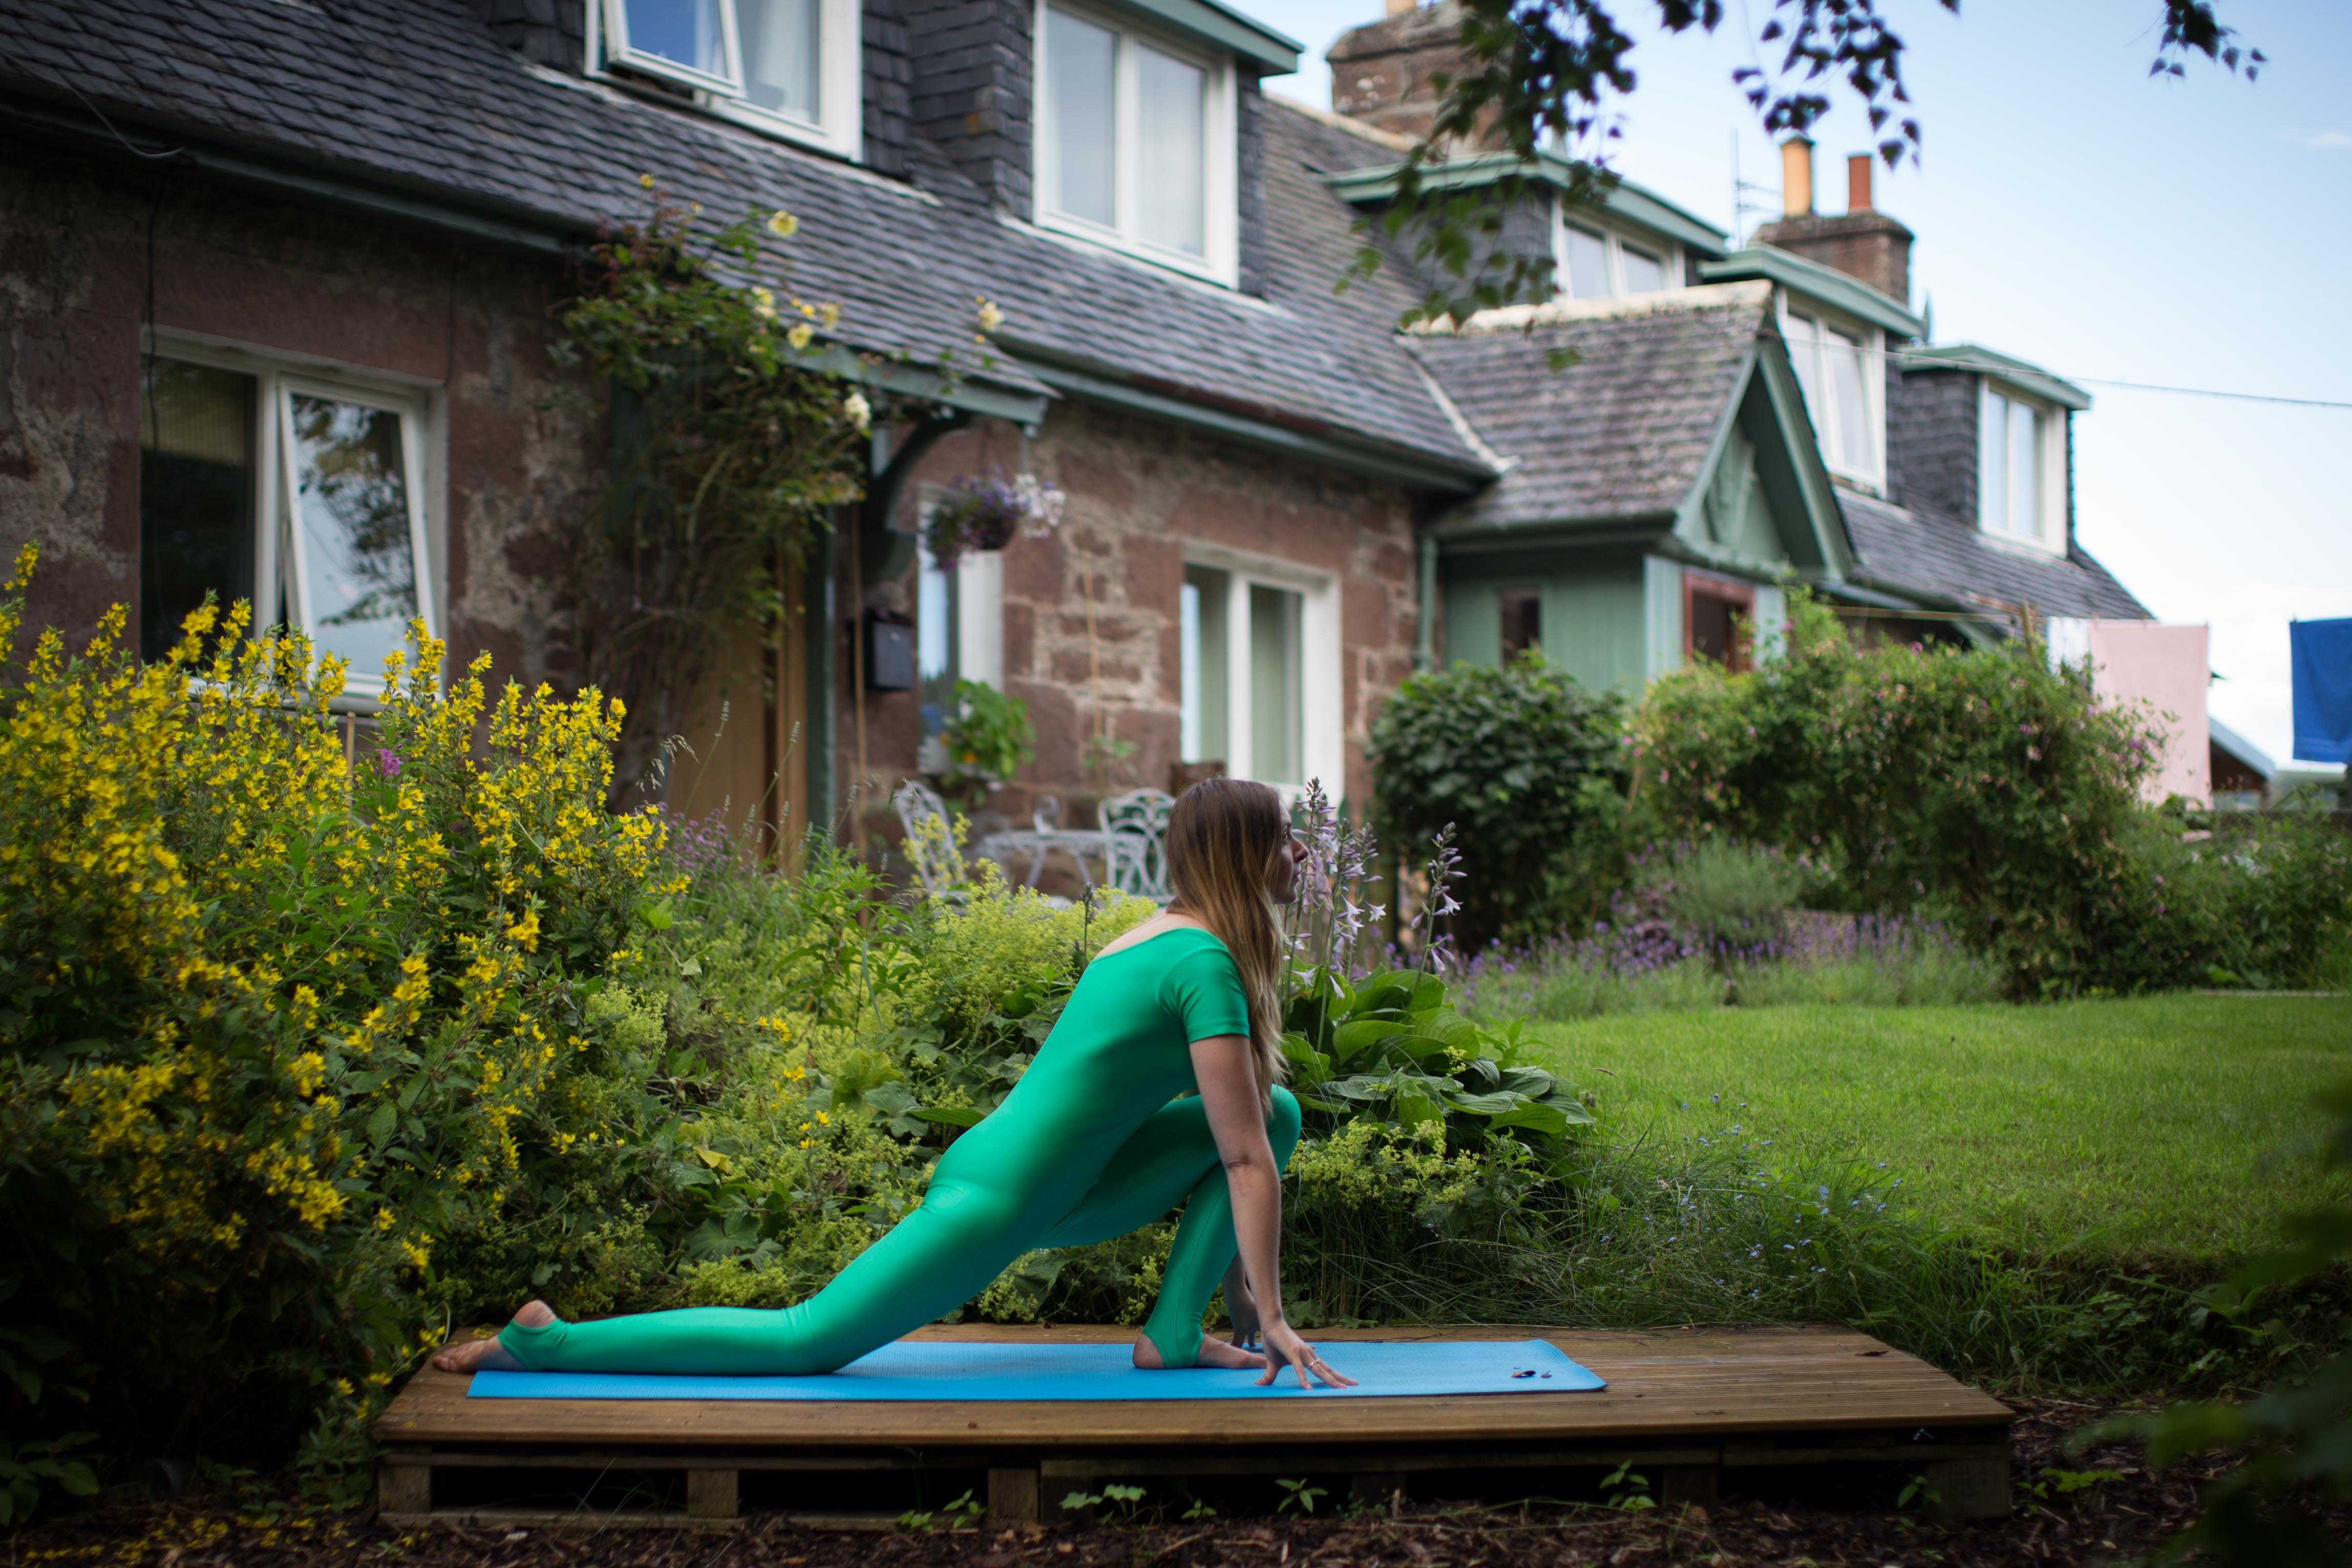
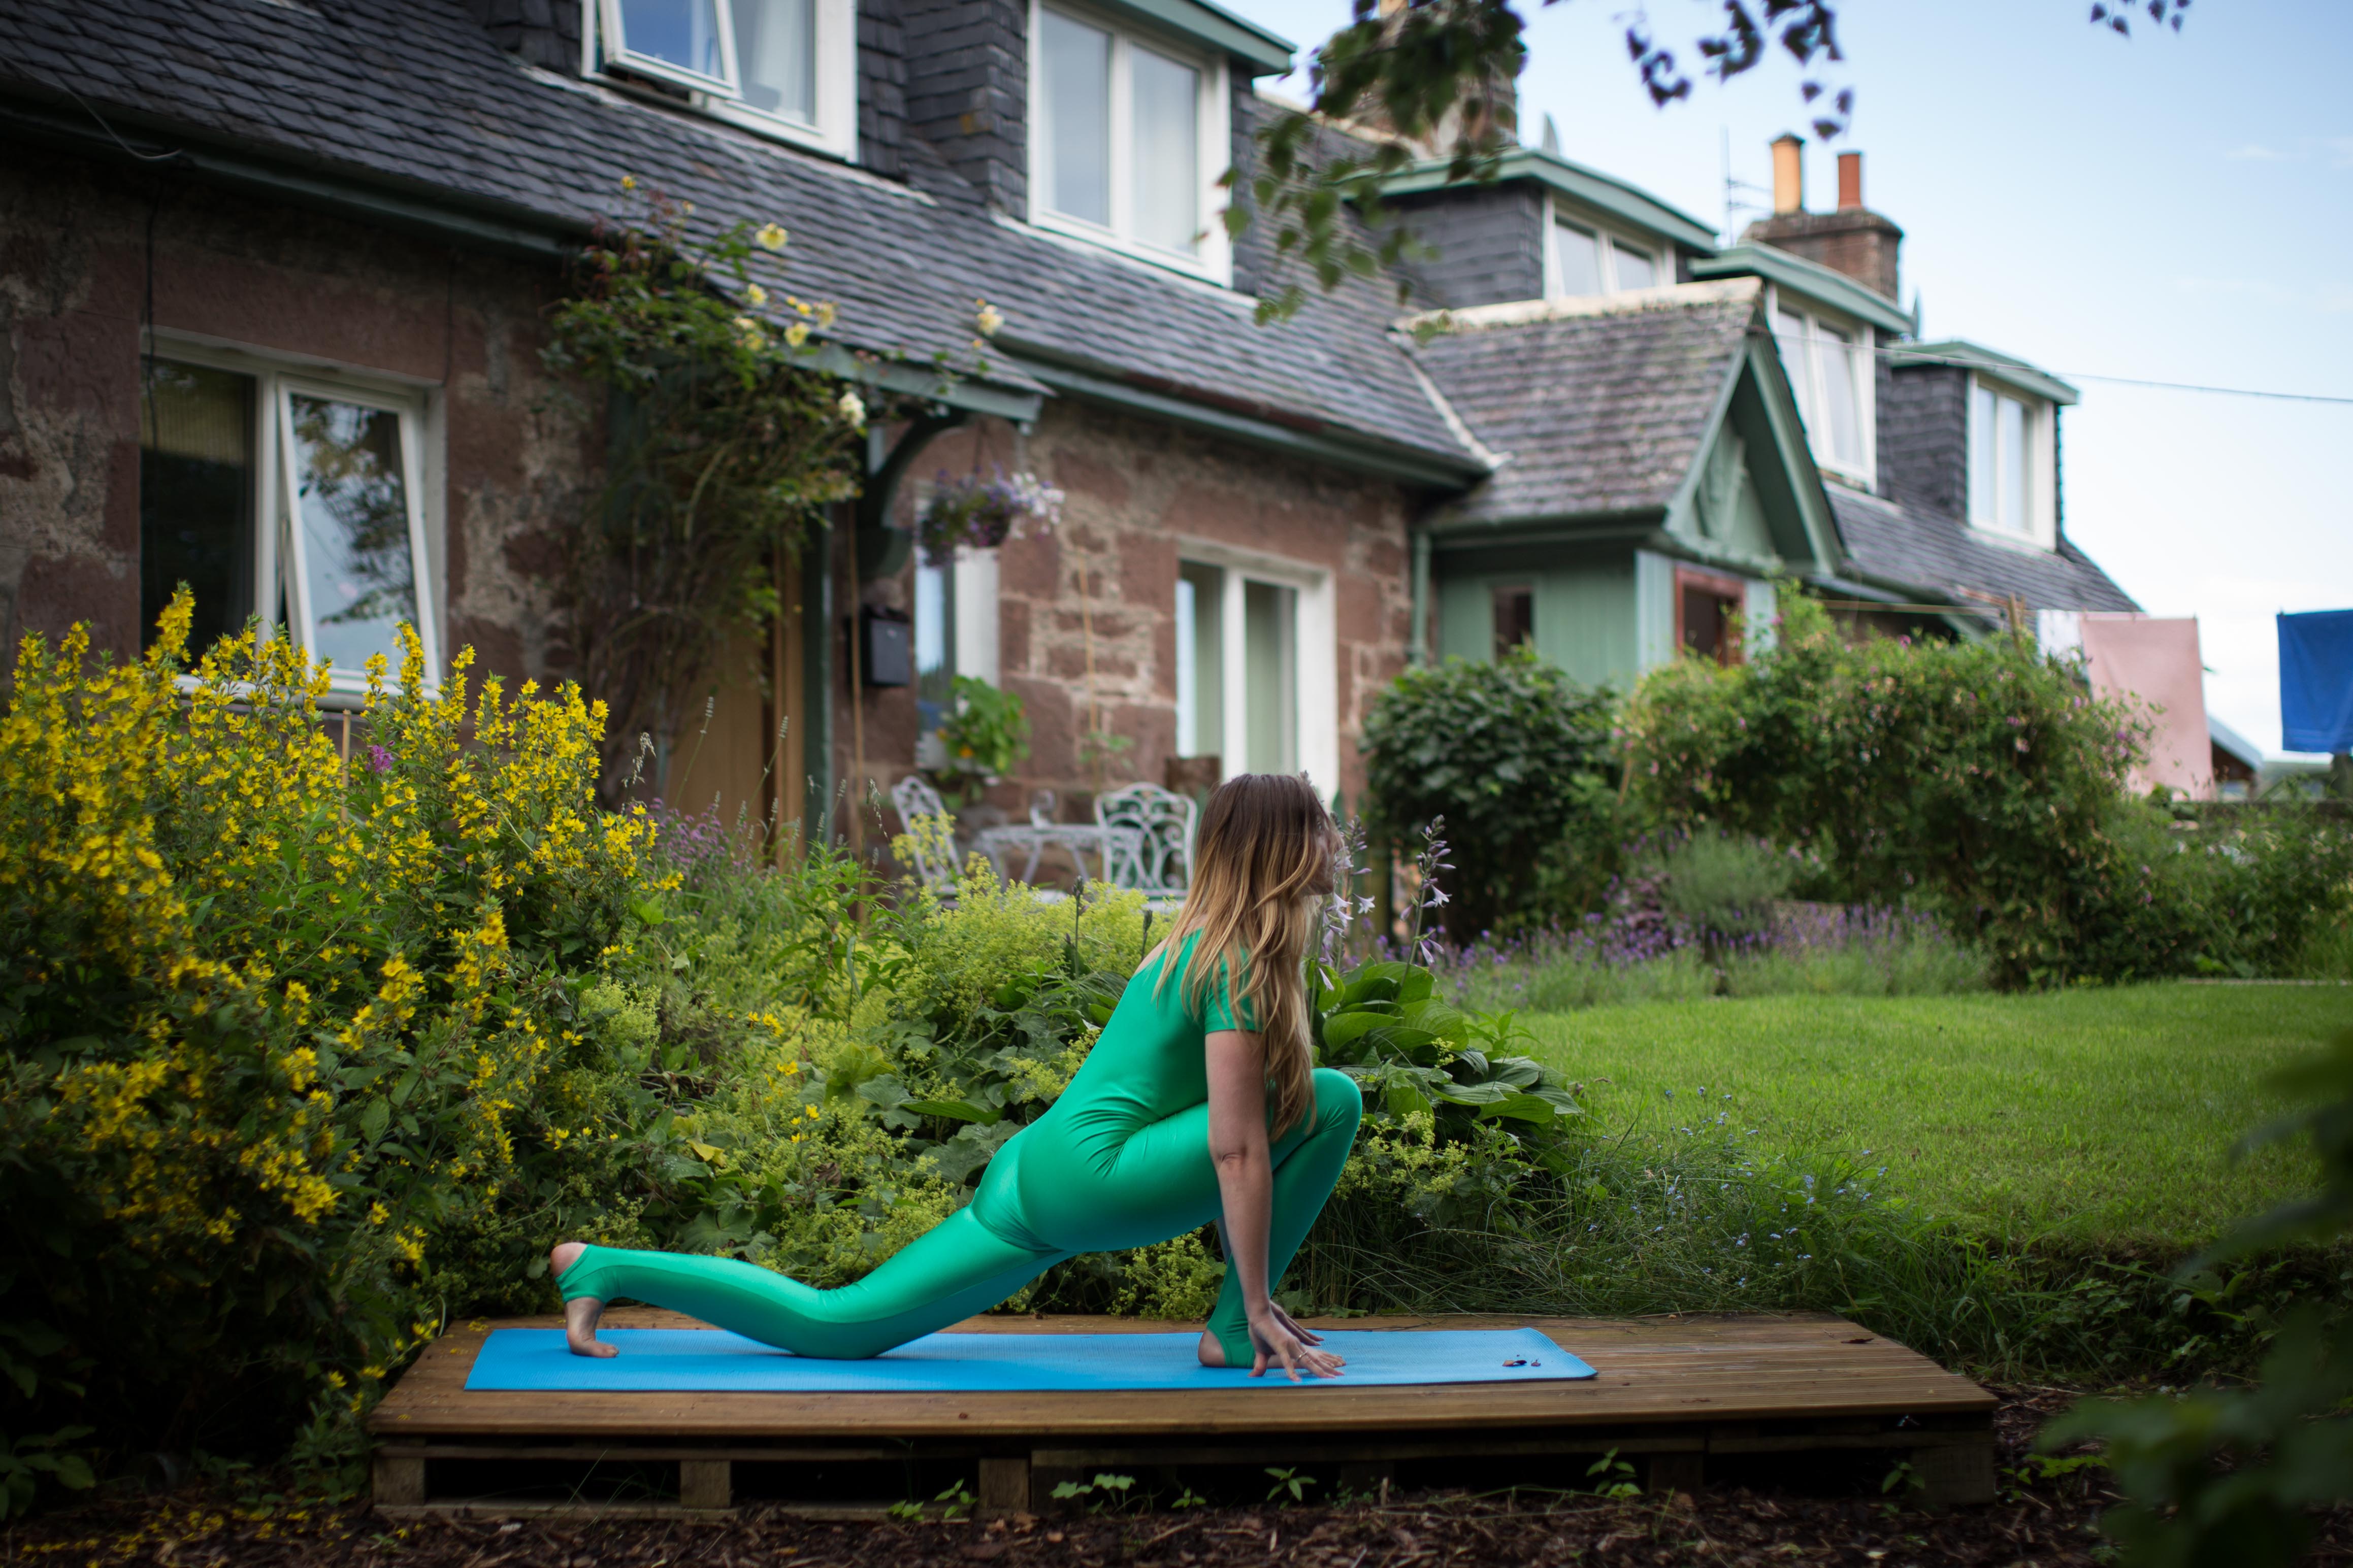
Staying on the same breath, look straight ahead and really BEND INTO your left knee to feel the stretch here in the hips, look up, hands come onto the fingertips, ooh I love this stretch- a real hip-opener!
BREATHE OUT really gain MOMENTUM in your movements here and put your hands flat on the mat, either side of the feet, put your weight INTO the hands to use that firm grounding to lift and BRING your LEFT FOOT back to meet the right, into a strong ‘Plank position‘.

Hold steady this for a second before you DROP your KNEES to the floor, and with your arms, be strong and deliberate, as if you were doing a push-up and carefully lower your upper body towards the floor and propel FORWARDS and with strength and control, BREATHE IN and push your chest UP and THROUGH to ‘Upwards Facing Dog‘.
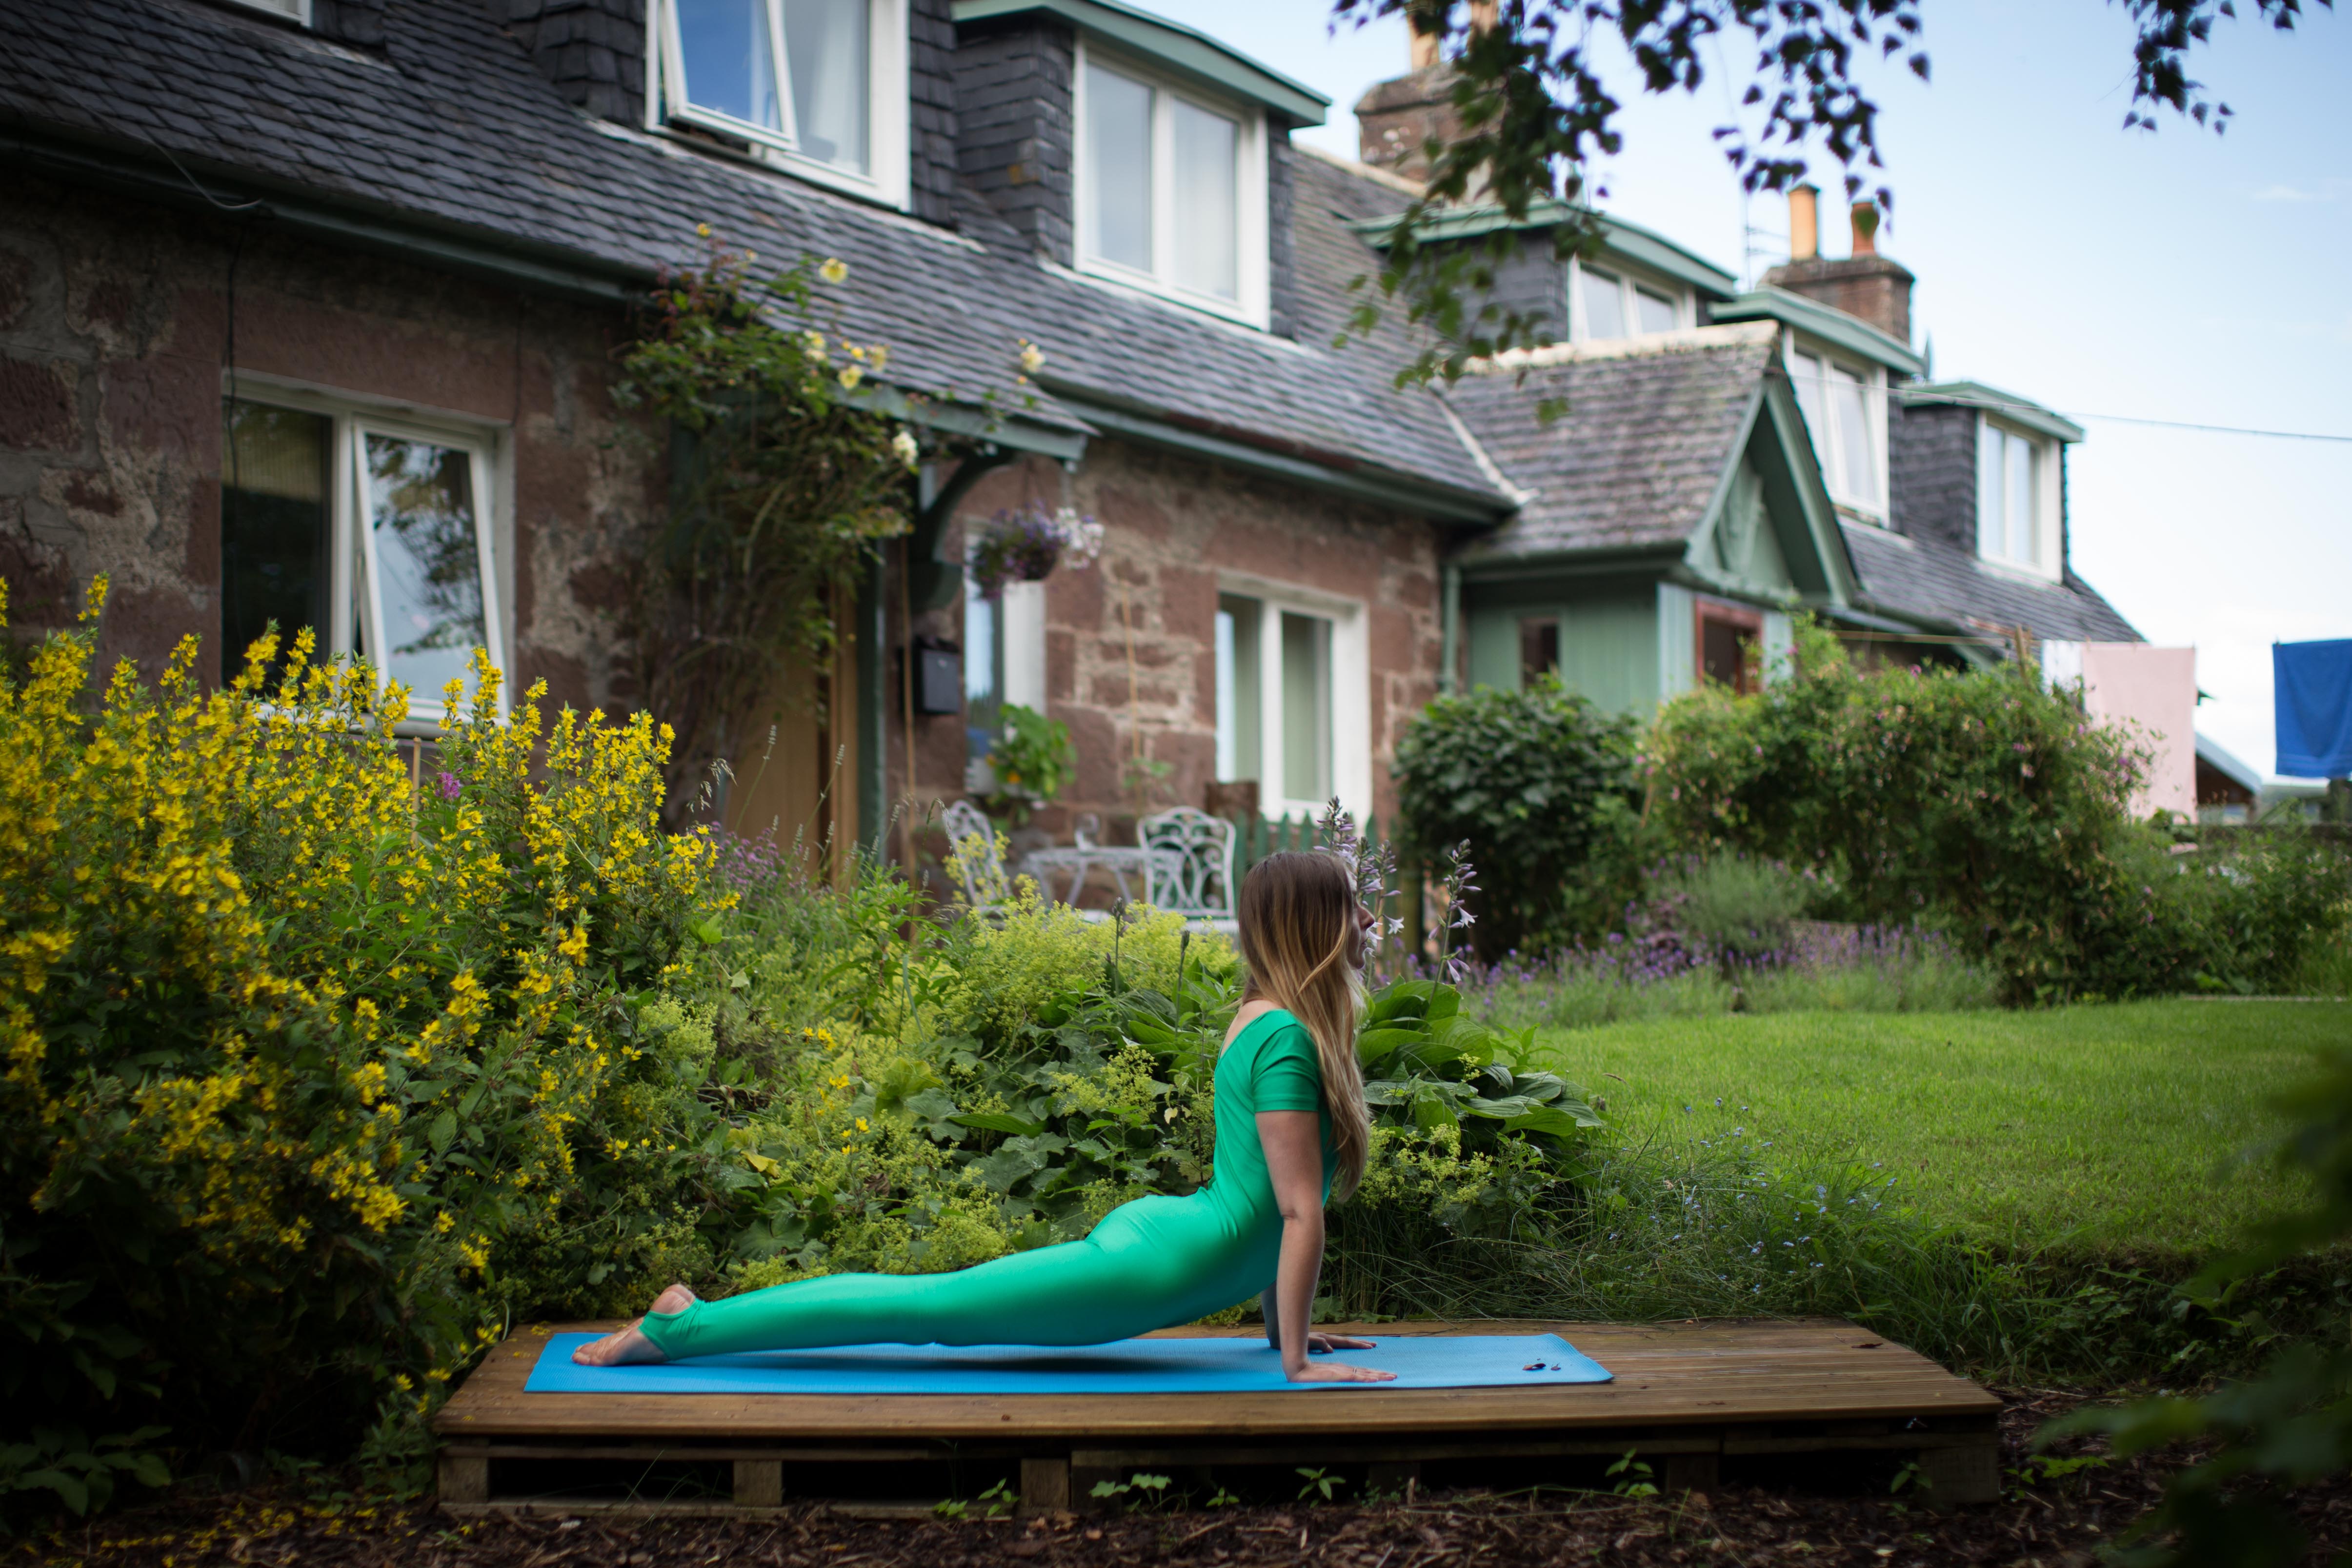
Relish in this pose. Look up to the sun, imagine yourself like a Sphinx or a Cobra with this lovely inverted back bend. The tops of your feet should be on the mat, soles facing UP (look at the image above). Keep your knees and hips on the floor to begin with as you do this pose, although as you progress and develop strength in your upper body you will want to ‘push through’ from ‘plank’ into ‘upward’s facing dog’ all with your knees and hips lifted up off the mat to intensify the bend, Oh, it’s so goooood!

BREATHE OUT. Curl your toes and TURN YOUR FEET under, so the soles begin to move towards the mat, use this motion and the strength in your arms and hands to PUSH your entire body up and back into ‘Downwards Facing Dog’, FEET TOGETHER (yep, in my way we do it feet together here).
Really GROUND and establish yourself in this pose, head down, bum up! Lower your heels towards the mat. Really PUSH against the mat with your hands to OPEN the shoulder blades and push the body up and back. LIFT the pelvis up to the sky. Relaaaxxxxxx into it. Walk your legs a few times on each side, straightening them, one at a time, each time trying to lower the heel as close to the ground as you can, the goal is to get the feet flat on the ground. Eventually, with practice, you will be able to plant both feet firmly on the ground and it will be the most satisfying stretch. BREATHE DEEPLY through the nose. 3 deep breaths in, 3 deep breaths out. Hey, why not 5 deep breaths, 7 even (I do 7- it’s my numerology!) Do as many as you can manage (this is where, if you can begin to FEEL the breath moving up the back of your neck and into your skull you are REALLY on the money!)
When you’ve had enough downward-dogging…
BREATHE IN: Step the RIGHT FOOT forward into a lunge, finger tips on the mat either side of the foot, look up and ahead, really feel into that hip-opener. Toes of the left foot curled under, ready to step forward.
BREATHE OUT: Step the LEFT FOOT forward to meet the right, stand firmly on both feet, hands placed either side, touching the mat (fingertips is fine) straighten the legs and FOLD forward, head down, REALLY fold here, enjoy it!
Still folded forward BEND THE KNEES, ROOT your feet firmly to the ground, really stabilise, and as you do, carefully lift the hands off the mat and bring them into prayer pose in front of your chest, still bent over.
BREATHE IN: PUSH your feet down into the mat to stabilise you and use this to enable you to SLOWLY COME UP, REACH your hands up in prayer pose until you are stretching RIGHT UP above your head, stretch up, up, up, feel as if your body is lifting up out of the knees, out of the hips, out of the shoulders!
As we did at the beginning, bend the knees, tilt the pelvis forwards and arch gently back.
To close slowly bring the hands forwards and come out of the bend, return your hands gently to prayer pose to in front of your heart. BREATHE OUT.
Mmmmmmmm…. finally, before you move onto the other side, gently let your hands fall to your sides and take a couple of deep breaths to complete.
Then begin again! This time when you step back, step back with the LEFT foot, and when you come out of ‘Downward’s Facing Dog’ again step forward with your LEFT foot. And there we have a set!
GOOD MORNING! FEELS GOOD, RIGHT?! And although this is a lot of words all this will take you under a minute, but it’s all about doing it with the right intention, getting the breath right, really feeling into the postures…
As I say- start with 6 sun salutations, R, L, R, L, R, L.
And as you become more comfortable you can work your way up. Every day I do 10 of this sequence (which is called ‘Sun Salutation A‘ followed by 4 of more complex and ‘yang-y’ ‘Sun Salutation B‘- keep your eyes out, I’ll post the photos/instructions to B soon! (I might even wear a different coloured ‘yogatard’ oo-er) I incorporate my Sun Salutations into a self-designed practice which also contains the warm-up exercises of Kundalini Yoga, twists, inversions and breathing exercises (Pranayama) and I always precede all this with an hour of Vipassana meditation (for years I did my meditation AFTER my yoga- for the first 6 years, but since I discovered Vipassana I prioritise my meditation and do it first, this really enables me to check in with how I really am that day). This is my essential daily practice. More than that, this is my primary avenue of HEALING.
I can’t wait until I am a qualified Kundalini Yoga Teacher and it makes me very happy to share this with you. I am happy to offer any tips to help you establish your own daily at home yoga practice- just let me know how I can help! My number one piece of advice: ONLY DO WHAT FEELS GOOD!
Now, go get on that mat, and salute that SUN! Whether it is sunny or not, indoors or outdoors, it doesn’t matter. Even if it’s cloudy and rainy, the sun’s still there, behind the clouds, just face East!
Love x

One thought on “How to do the Perfect Sun Salutation! Photo Blog”